
Your thermostat may be one of the most crucial components of your heating and cooling system, but it’s not uncommon for it to malfunction from time to time. One of the common issues that homeowners face is a faulty thermostat cover that needs to be removed and fixed or replaced. If you’re unsure of how to remove thermostat cover, don’t worry – it’s easier than you might think. In this article, we’ll guide you through the steps to remove a thermostat cover safely and efficiently, so you can diagnose and fix any issues with your thermostat. Read on to learn more!
Tabe of Contents
- 1. Introduction: The Importance of Removing Your Thermostat Cover
- How to Remove Your Thermostat Cover
- 2. Tools and Precautions: What You’ll Need for the Job
- 3. Step-by-Step Guide: How to Safely Remove Your Thermostat Cover
- 4. Troubleshooting Tips: What to Do if You Encounter Obstacles
- 5. Cleaning and Maintenance: Best Practices for Taking Care of Your Thermostat
- 6. Replacing Your Thermostat Cover: How to Do it Safely and Securely
- 7. Conclusion: Enjoy the Benefits of Your Newly Accessible Thermostat
- People Also Ask:
- Conclusion:
1. Introduction: The Importance of Removing Your Thermostat Cover
How to Remove Your Thermostat Cover
Removing your thermostat cover may seem like a trivial task, but it carries a lot of significance. Your thermostat is responsible for regulating the temperature of your home, and its cover may impede its function. A blocked thermostat cover could lead to incorrect readings, which may cause your heating and cooling system to work harder than it needs to, leading to unnecessary energy consumption and higher bills.
Furthermore, removing your thermostat cover is essential to perform regular maintenance, such as cleaning the unit and upgrading it with newer models. Regularly removing the cover will also help prevent your thermostat from becoming unresponsive or even getting damaged.
In this article, we will provide you with a step-by-step guide on how to safely remove your thermostat cover, highlight the necessary tools and precautions, as well as give you tips to help troubleshoot common issues. We will also provide you with tips on how to maintain your thermostat and safely reinstall its cover. Let’s delve into it!
2. Tools and Precautions: What You’ll Need for the Job
Removing your thermostat cover is a simple DIY task that requires the right tools and precautions. Here are the things you’ll need to get started:
Tools:
- Flat-head screwdriver or a plastic pry tool
- Phillips screwdriver (if your thermostat is holding on with screws)
- Clean cloth or dust brush
Precautions:
Before you start removing your thermostat cover, make sure to turn off the power to the HVAC system. This step is crucial to avoid electric shock and damage to your thermostat. You can turn off the power by either flipping the switch in your electrical panel or turning off the power supply at your furnace. Double-check that the power is off before starting.
Also, make sure to handle your thermostat cover gently to avoid damaging it or dislodging any wiring. If you encounter any wiring, make sure to identify them and loosen them carefully using your screwdriver or plastic pry tool.
By having the right tools and taking necessary precautions, you can safely and confidently remove your thermostat cover. In the next section, we’ll guide you through the step-by-step process.
3. Step-by-Step Guide: How to Safely Remove Your Thermostat Cover
Removing your thermostat cover might seem like a daunting task, but it’s actually quite simple. With proper tools, precautions, and a basic understanding of the thermostat, you can remove the cover without damaging it or the wires connected to it.
Step 1: Turn off Your Thermostat
Before you start removing the cover, it’s essential to turn off your thermostat to avoid any electrical shock or damage. Locate the power source and switch it off. You can also turn off the breaker that controls your HVAC system, ensuring no power to the thermostat.
Step 2: Gather Your Tools
You will need a screwdriver, usually a Phillips head, to remove the screws holding the thermostat cover in place. Ensure the screwdriver is appropriate for the screws to prevent damage. Get a soft brush to clean the cover, a dry cloth to wipe it off, and a small plastic container to store the screws.
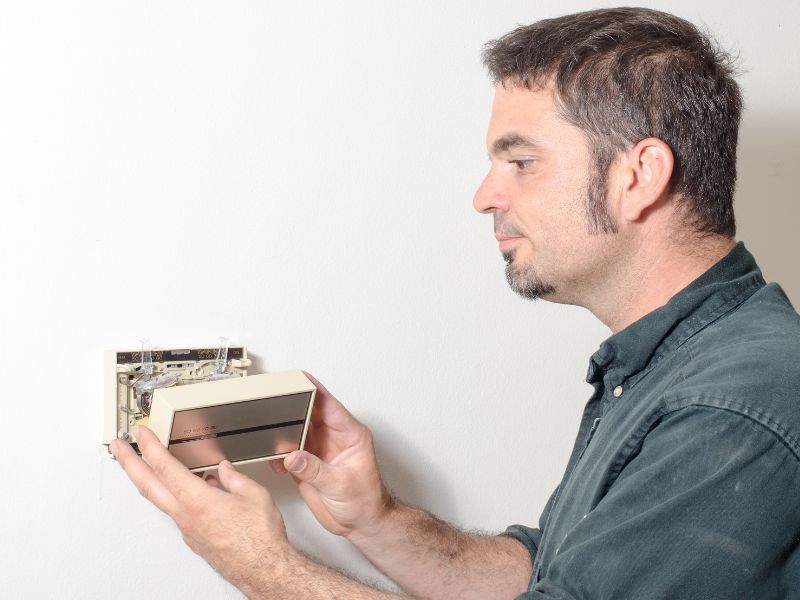
Step 3: Remove the Thermostat Cover
Once you have gathered your tools, you can start removing the cover. Most thermostats have two or four screws holding the cover in place. Use the screwdriver to loosen the screws and keep them in a container to avoid losing them. Carefully remove the cover, exposing the wires and thermostat.
Step 4: Clean and Inspect the Thermostat
Before putting the cover back, take a moment to inspect and clean the thermostat. Use your soft brush to remove any dust or debris accumulated inside. Be gentle with the wires and ensure they are appropriately connected. If you spot any broken wires or damaged areas, call an HVAC professional.
Removing your thermostat cover is a simple process that can save you money and headaches in the long run. Now, your thermostat is accessible, and you can proceed with any repairs or maintenance safely.
4. Troubleshooting Tips: What to Do if You Encounter Obstacles
As with any home improvement project, removing your thermostat cover may not always be a straightforward process. Here are some tips on what to do if you run into obstacles:
1. Check for Screws or Hidden Clips
Some thermostat covers are secured with screws or hidden clips that can be easily overlooked. Before attempting to force the cover off, thoroughly examine your thermostat to see if there are any additional fasteners holding the cover in place.
2. Use a Flathead Screwdriver
If you are having trouble prying off the cover with your fingers, try using a flathead screwdriver to gently pry it loose. Be careful not to damage the cover or thermostat while doing this.
3. Turn Off Your HVAC System
If you are having difficulty removing your thermostat cover, it may be because your HVAC system is still running. Turn off your system to prevent any accidents or damage, and try again.
By following these troubleshooting tips, you should be able to safely and effectively remove your thermostat cover. However, if you are still having difficulty or are unsure about how to proceed, don’t hesitate to contact a professional HVAC technician for assistance.
5. Cleaning and Maintenance: Best Practices for Taking Care of Your Thermostat
Taking care of your HVAC system is essential to ensure that it stays functional and efficient for a long time. One way to ensure that your thermostat is in good condition is by cleaning and maintaining it regularly. In this section, we will discuss the best practices for taking care of your thermostat.
Use a Soft, Dry Cloth to Clean Your Thermostat
The first step in maintaining your thermostat is by cleaning it periodically. A soft, dry cloth is the best way to clean your thermostat. Avoid using any abrasive cleaners that can scratch the surface or harm the inner components. In case of tough stains, use a damp cloth and gentle soap to clean it. Do not pour water directly onto your thermostat, as this may cause damage to the system.
Keep Your Thermostat Free of Debris and Dust
Dirt and debris can accumulate on your thermostat over time, which can cause it to malfunction. Therefore, it’s important to clean your thermostat regularly to prevent any debris from building up. Use a soft brush or a can of compressed air to remove any accumulated dirt. Make sure you turn off your thermostat before beginning your cleaning process to prevent any damage.
Inspect Your Thermostat for Damaged Wires and Connections
It’s important to regularly check the wires and connections of your thermostat to ensure that they are in good condition. Damaged wires or poor connections can cause your HVAC system to function poorly, leading to costly repairs down the line. Use a flashlight to examine your thermostat closely, and if you notice any damage or loose connections, contact a professional HVAC technician who can repair or replace it.
By cleaning and maintaining your thermostat regularly, you can keep your HVAC system running efficiently for a long time. Moreover, inspecting your thermostat and repairing any damages immediately can save you from costly repairs in the future. Taking care of your thermostat is a simple and easy task that can help you get the most out of your HVAC system.
6. Replacing Your Thermostat Cover: How to Do it Safely and Securely
After removing and cleaning your thermostat, it’s time to put everything back together. Replacing the thermostat cover is a simple process, but you want to make sure you do it correctly to avoid any damage and ensure that it is securely in place.
Step 1: Check the Gasket
Before replacing your thermostat cover, check the gasket. If it is worn out or damaged, replace it with a new one. The gasket ensures that the cover fits tightly and keeps dirt and debris from getting inside. You can find replacement gaskets at your local hardware store or HVAC supply shop.
Step 2: Align the Cover
Align the cover with the base of the thermostat and push it down gently. Make sure it snaps into place. If it doesn’t snap into place, check the alignment and try again.
Step 3: Tighten the Screws
Use the screws you removed earlier to secure the cover in place. Tighten them, but don’t over-tighten them, as this can cause damage to the cover and the thermostat itself. Use a screwdriver with the appropriate size and type of head to avoid stripping the screws.
Replacing your thermostat cover is a simple process, but it’s important to do it safely and securely to prevent any further damage to your thermostat. Follow these steps, and your thermostat will be as good as new. Now that you have put in some effort to maintain and clean your thermostat, enjoy the benefits of a well-functioning appliance.
7. Conclusion: Enjoy the Benefits of Your Newly Accessible Thermostat
Congratulations! You have successfully removed your thermostat cover and gained access to your thermostat. Now, you can easily configure its settings to maintain a more comfortable temperature in your home.
Take advantage of your newly accessible thermostat by adjusting its temperature to your desired level. You can also set the thermostat to turn on or off automatically based on your schedule. By doing so, you will reduce your energy bills and contribute to environmental conservation.
Remember to clean and maintain your thermostat regularly to ensure its proper functioning. Remove any accumulated dust or debris from the device with a soft brush or cloth. Do not use water or chemical cleaners as they can damage the device.
If you encounter any problems during the removal or replacement of your thermostat cover, don’t hesitate to seek professional help. A trained HVAC technician can troubleshoot any issues and provide the necessary solutions.
In conclusion, removing your thermostat cover is a simple and effective way to optimize the performance of your HVAC system. Enjoy the benefits of your newly accessible thermostat and improve your living conditions without compromising your energy consumption.
People Also Ask:
1. Can I remove the thermostat cover without turning off the power?
It is not recommended to remove the thermostat cover without turning off the power. To avoid the risk of electric shock, turn off the power to the HVAC system before removing the cover.
2. What tools do I need to remove a thermostat cover?
The tools required to remove a thermostat cover depend on the type of cover. Usually, a screwdriver is required to remove the screws that hold the cover in place. In some cases, a small wrench may be needed to remove the mounting bracket.
3. How do I know if I have a thermostat cover?
Most thermostats have a cover that can be removed to access the wiring. If you can’t see the wiring or the thermostat looks like it has a plastic cover, it likely has a removable cover.
4. What should I do if the thermostat cover is stuck?
If the thermostat cover is stuck, try to gently wiggle it back and forth. If it still won’t budge, see if there are any screws that need to be loosened. If this does not work, call a professional for assistance.
5. How do I put the thermostat cover back on?
To put the thermostat cover back on, align the cover with the mounting bracket and snap it into place. Use a screwdriver to tighten the screws if necessary.
Conclusion:
Removing a thermostat cover is typically a simple task that can be done with a screwdriver. However, it is important to turn off the power to the HVAC system before removing the cover to avoid the risk of electric shock. If you encounter any issues or the cover is stuck, it is best to seek professional assistance to avoid causing damage.

Emergency Services Coordinator
Oliver leads our round-the-clock emergency repair services. His swift response and problem-solving skills provide peace of mind during urgent AC breakdowns, making your comfort his priority.