
Have you ever experienced stepping into the shower, only to be greeted by a blast of icy water? If yes, then the culprit behind it could be a faulty electric water heater. As frustrating as it may be, fixing an electric water heater is not rocket science and can save you a lot of money in the long run. In this article, we will guide you on how to fix common electric water heater problems to ensure you always have a steady stream of hot water flowing through your pipes.
Tabe of Contents
- 1. Diagnosing Common Electric Water Heater Problems
- How To Fix An Electric Water Heater
- 2. Steps to Replace a Faulty Thermostat in Your Water Heater
- How to Fix an Electric Water Heater?
- 3. How to Correctly Replace a Burnt-Out Heating Element in an Electric Water Heater
- 4. Tips and Tricks for Flushing Your Electric Water Heater
- 5. How to Properly Maintain Your Electric Water Heater to Avoid Future Repairs
- People Also Ask
- Conclusion
1. Diagnosing Common Electric Water Heater Problems
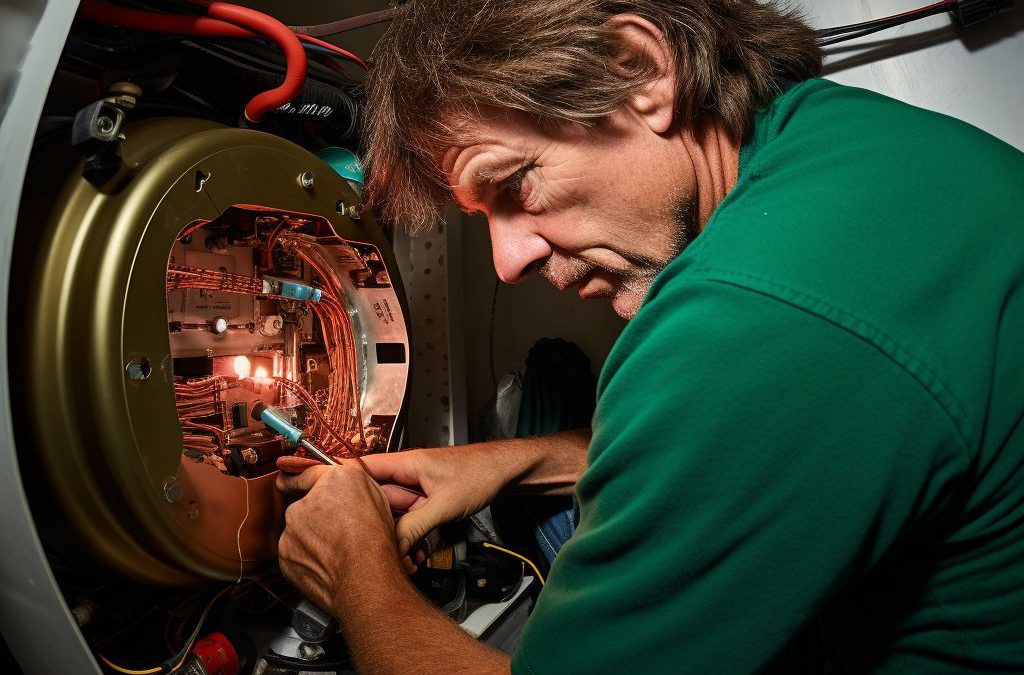
How To Fix An Electric Water Heater
Electric water heaters are a convenient appliance that is used in many households. While it is an important appliance, it is often taken for granted until it stops working. When your electric water heater stops working properly, it can be a frustrating experience. Here, we will discuss some common electric water heater problems and how you can diagnose them.
1. No Hot Water: One of the most common problems is no hot water. If you are not getting hot water, the first thing you need to check is the power source. Make sure the circuit breaker is on, and the fuse is not burned out. If the power supply is ok, check the heating element and the thermostat.
2. Not Enough Hot Water: Another common problem is not enough hot water. If you are not getting enough hot water, check the temperature setting on the thermostat. It may be set too low. Also, the heating element may need to be replaced.
3. Leaking Tank: If you notice a leak in your electric water heater, it is essential to address the problem immediately before it causes any damage. A leaking tank is often caused by the internal rust or a worn-out drain valve. It is recommended to replace the water heater if you notice a leak.
4. Strange Sounds: If you notice strange sounds coming from your electric water heater, it could be a sign of a problem. The sediments build-up in the tank cause those sounds. It would be best if you flushed your electric water heater regularly to get rid of any sediments and prevent any damage.
In conclusion, is the first step to fixing it. By doing regular checks and maintenance, you can avoid future problems and prolong the life of your electric water heater.
2. Steps to Replace a Faulty Thermostat in Your Water Heater
How to Fix an Electric Water Heater?
If your electric water heater is not heating water properly, then it might be due to a faulty thermostat. The thermostat is responsible for regulating the temperature of the water in your water heater. If it is not functioning correctly, then the water may be either too hot or too cold. In this section, we will walk you through the .
Step 1: Turn Off the Power Supply
Before you start working on your water heater, ensure that the power supply is turned off. You can do this by turning off the circuit breaker that powers your water heater. You may also need to switch off the thermostat and the heating element.
Step 2: Disconnect the Wires
The next step is to disconnect the wires that are connected to the thermostat. You can do this by using a screwdriver to remove the cover plate. Once you have removed the cover plate, you will be able to see the wires. Make sure you take note of which wire goes where so that you can reconnect them later.
Step 3: Remove the Thermostat
Once you have disconnected the wires, you can remove the faulty thermostat. You can do this by unscrewing the thermostat from the bracket that holds it in place. Make sure you keep the bracket as you will need it when you install the new thermostat.
Step 4: Install the New Thermostat
Once you have removed the faulty thermostat, you can install the new one. You can do this by screwing it into the same bracket that held the old thermostat. Ensure that it is securely in place before moving on to the next step.
Step 5: Reconnect the Wires and Turn on the Power Supply
After you have installed the new thermostat, it’s time to reconnect the wires. Make sure you connect them according to the notes you took earlier. Once you have connected the wires, you can turn on the power supply by switching on the circuit breaker and the thermostat.
In conclusion, replacing a faulty thermostat in your electric water heater is not a complicated process. As long as you follow the steps carefully, everything should go smoothly. Remember to turn off the power supply before starting work and reconnect the wires correctly when you are done.
3. How to Correctly Replace a Burnt-Out Heating Element in an Electric Water Heater
If your electric water heater is not producing hot water, it could be due to a faulty heating element. Replacing a burnt-out heating element is a simple task that can be done by following a few steps. In this section, we will guide you through the process of replacing a heating element in your electric water heater.
1. Turn off the power supply: The first step is to turn off the power supply to the water heater. Go to the main electrical panel and locate the circuit breaker that connects to the water heater. Turn off the switch and confirm that there is no power running to the unit to avoid accidents.
2. Drain the tank: Next, you need to drain the tank to prevent water from spilling out when you remove the heating element. Attach a garden hose and place the other end in a drain. Open the drain valve and allow the water to flow out.
3. Remove the heating element: Once the tank is drained, use a heating element wrench to remove the faulty heating element. Turn it counterclockwise to loosen it and pull it out of the tank.
4. Install the new heating element: Take the new heating element and insert it into the hole where the old one was located. Tighten it firmly with the wrench, making sure that it is level and flush with the tank.
5. Refill the tank: Close the drain valve and remove the hose. Turn on the cold water supply to refill the tank. Wait for the tank to fill up completely, and check for leaks.
6. Restore the power supply: After confirming that there are no leaks, turn on the circuit breaker to restore power to the water heater. Wait for a few minutes and test the hot water supply.
By following these steps, you can correctly replace a burnt-out heating element in your electric water heater. Knowing how to do this can save you money on repairs and prevent you from having to buy a new unit altogether. Remember to always turn off the power supply and follow the manufacturer’s instructions for safety precautions.
4. Tips and Tricks for Flushing Your Electric Water Heater
Flushing your electric water heater is an important task that should be done at least once a year to maintain its efficiency. Over time, minerals and sediment can build up in the tank, which can reduce its performance and also shorten the lifespan of the heater. In this section, we will discuss some to ensure it runs smoothly for years to come.
Use the Right Tools
Before flushing your electric water heater, you will need a few tools including a garden hose, a screwdriver, and a bucket. You should also ensure that you turn off the power supply to the heater and allow it to cool down before starting the flushing process.
Drain the Tank
The first step to flushing your electric water heater is to drain the tank. Locate the drain valve at the bottom of the tank and connect the garden hose to it. Place the other end of the hose in a bucket or outside away from the house. Open the drain valve and let the water flow out of the tank until it runs clear. This may take some time, so be patient.
Flush the Tank
After draining the tank, it’s time to flush it. Close the drain valve and fill the tank halfway with water. Add one gallon of white vinegar to the water in the tank and let it sit for an hour. After an hour, turn on the cold water supply to the tank and let it flow through the tank until the vinegar is completely flushed out of the tank. You can repeat this process as many times as necessary until the water runs clear.
Refill the Tank
Once the tank is flushed, it’s time to fill it up again. Close the drain valve and remove the garden hose from it. Turn on the cold water supply to the tank and let it fill up completely. Once the tank is full, turn on the power supply to the heater and let it heat up the water.
Flushing your electric water heater is an essential maintenance task that should be done regularly to ensure it runs efficiently and lasts for as long as possible. Follow these tips and tricks to ensure that your electric water heater is in tip-top shape.
5. How to Properly Maintain Your Electric Water Heater to Avoid Future Repairs
To avoid future repairs, it is important to properly maintain your electric water heater. Here are some tips to keep your water heater functioning efficiently:
- Flush your water heater regularly: Sediments and minerals can accumulate in your water heater tank over time, reducing its efficiency and lifespan. By flushing your water heater regularly, you can remove these sediments and minerals and prevent any potential damage to the heating system. Ideally, you should flush your water heater at least once a year. To do this, turn off the power supply to your water heater, shut off the cold water supply, connect a garden hose to the drain valve, and drain the tank completely.
- Check the Anode Rod: The anode rod is a crucial component of your water heater. It helps prevent rust and corrosion by drawing corrosive particles to itself. Over time, the anode rod can become corroded and need to be replaced. Check the anode rod every three years and replace it if necessary.
- Insulate the Pipes: Insulating your water heater pipes can help reduce heat loss and conserve energy. You can wrap the pipes with insulating material or purchase pre-insulated pipes.
- Test the Temperature and Pressure Relief Valve: The temperature and pressure relief (T&P) valve is a safety feature that releases excess pressure and temperature in your water heater. To ensure that it is working correctly, test the T&P valve every six months by lifting the lever and checking for water or steam to escape. If the T&P valve is not working correctly, it may need to be replaced.
By following these simple maintenance tips, you can extend the lifespan of your electric water heater and prevent costly repairs. Remember to always follow proper safety procedures when working with your water heater, including turning off the power supply and shutting off the water supply before performing any maintenance tasks.
People Also Ask
1. What are the common problems with electric water heaters?
The common problems with electric water heaters include a faulty heating element, a tripped circuit breaker, a defective thermostat, a leaky tank, and a malfunctioning pressure relief valve.
2. How do you troubleshoot an electric water heater?
To troubleshoot an electric water heater, you should check the power supply, test the heating element, check the thermostat, inspect the tank for leaks, and examine the pressure relief valve.
3. How long does an electric water heater last?
An electric water heater usually lasts between 8 to 12 years, depending on the manufacturer, usage, and maintenance.
4. Is it worth repairing an electric water heater?
If the electric water heater is relatively new and the repair cost is less than half the price of a new unit, it is worth repairing. However, if the water heater is old and the repair cost is high, it is better to replace it.
5. Should I hire a professional to fix my electric water heater?
It is recommended to hire a professional to fix an electric water heater, as dealing with electrical components and hot water can be dangerous. Moreover, a professional can diagnose the root cause of the problem and provide a safe and effective solution.
Conclusion
Fixing an electric water heater can vary widely from simple maintenance tasks to complex repairs that require professional assistance. It is essential to troubleshoot the problem carefully and have the right tools and knowledge to address the issue. Proper maintenance, timely repairs, and replacements can prolong the lifespan of the electric water heater and ensure it operates efficiently. If in doubt, it is always best to consult with a professional plumber or technician to prevent further damage or safety risks.

AC Installation Manager
Daniel’s expertise lies in seamless installations, guiding clients through the selection process to ensure the perfect fit for their spaces. His keen eye for detail ensures every installation exceeds expectations.